Quail ( Pro )
Note: Some of the features explained below may not available on free version of theme.
Quail is a simple, beautifully designed responsive multipuropose WordPress theme. This theme can be easily customized to make blog, news, business, corporate, yoga, construction, education, portfolio, travel and tour, beauty, fitness and many more websites. We support via online chat, email, support forum.
Installation
You can install theme either with Admin Panel or using FTP clients like FileZilla.
Using Admin dashboard
- Log in to the WordPress Administration Panels.
- Go to Appearance -> Themes.
- Select Add New.
- Then select Upload Theme.
- Click Browse and locate theme's zip file in your computer.
- Select theme's zip file and click Install Now.
Using FTP
- Unzip themes zip file to your Desktop.
- Using an FTP client to access your host web server, go to /wp-content/themes/ and upload your new copy of Quail Theme.
- Now, log into the WordPress Dashboard with your login details.
- Select the Appearance panel, then Themes.
- You will see the theme in the list.
- Then click Activate button.
- Now the theme will be activate and go through the following options to set up the theme step wise.
Activation
After successfully installing the BlogYard Pro theme, you need to activate your theme. Follow given steps to activate the theme.
- Select the Appearance panel, then Themes.
- You will see the BlogYard Pro theme in the list.
- Click Activate button.
- After clicking in activate button the theme will be activate.
Getting Started
Theme supports some helpful WordPress plugins to enhance your site. Since, Page Builder by SiteOrigin is deeply integrated in the theme to achieve different layouts, please make sure both Page Builder by SiteOrigin and Bella Kit plugins are installed and activated.
Enable Custom Post Types
To use Quail theme's features you need to activate custom post type. Follow the given steps
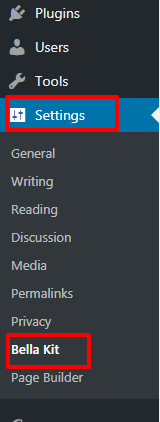
- Go to Setting > Bella Kit
- Enable post types that you need
- Click Save Changes.

Demo Content
You must enable required custom post types before demo import.
If you've missed to enable custom post type please follow following steps.
- Go to Setting > Bella Kit
- Enable post types that you need
- Click Save Changes.
- Go to Appearance > Import demo data .
- Click Import demo data
It may take few minutes . Be patient. Thats all!!!!
Home Page Setup
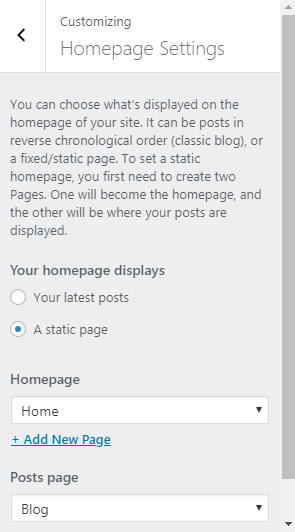
- Go to Appearance -> Customize.
- Go to Homepage Settings.
- From Homepage Settings, You will be able to set any page as A Static page and you will find Your Latest Posts page option as well.
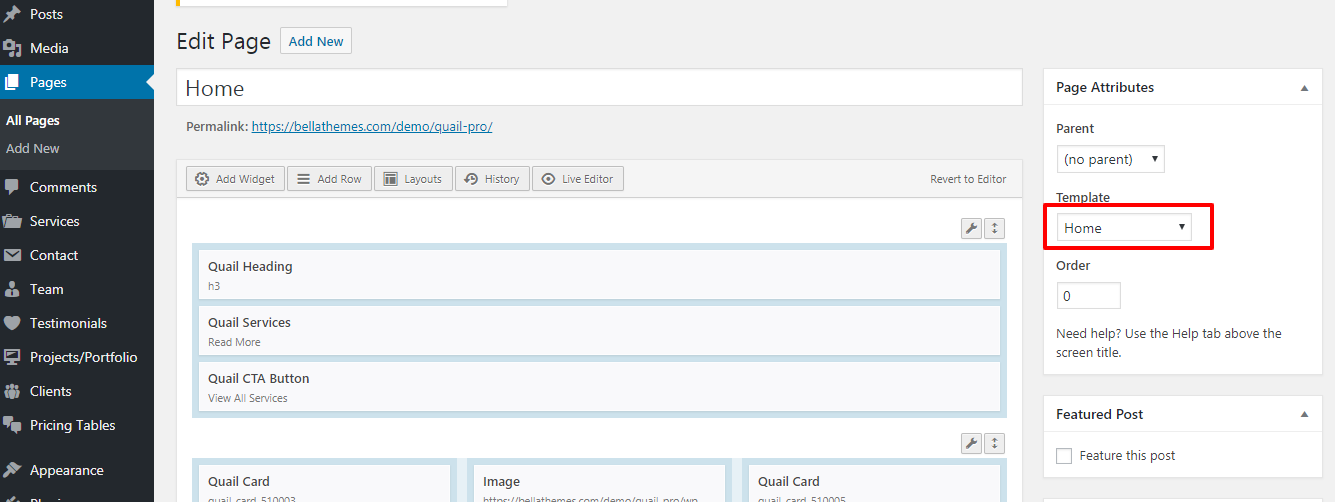
If you don't have Home page created. Follow steps below
- Hover over the Pages menu.
- You will seeAdd New under All Pages
- Click Add New
- You will be redirected to new page form.
- Add title Home or any title you want.
- Select Template as Home
- Click publish.
Layout setting
Select site layout and container size.
- Go to Appearance > Customize > Layout Setting >Layout Type.
Header setting
- Go to Appearance > Customize > Header Setting >Header Style.
Logo & Site Title
- Go to Appearance > Customize > Header Setting >Header Style.
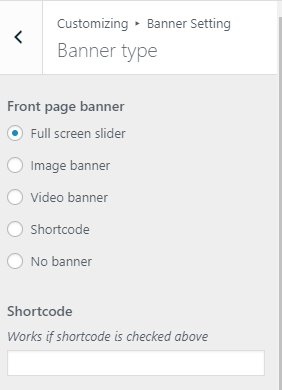
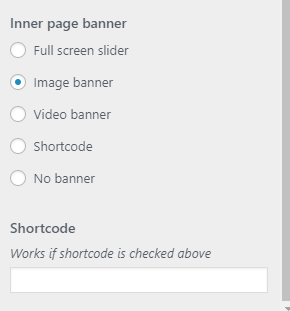
Banner Setting
- Go to Appearance > Customize > Banner Setting >Banner Type.
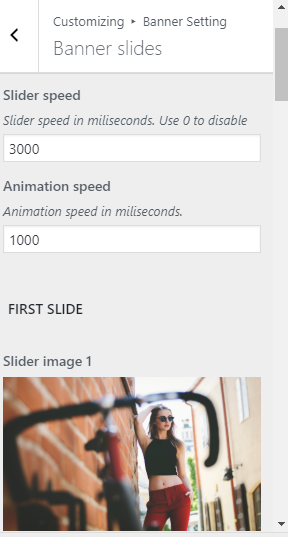
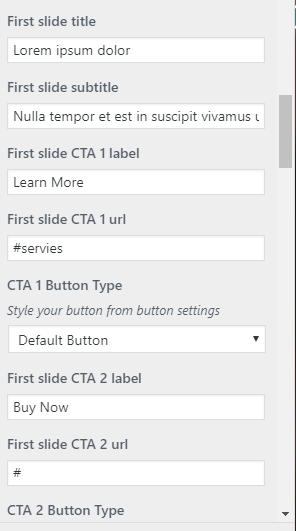
Banner slides
- Go to Appearance > Customize > Banner Setting >Banner Slides
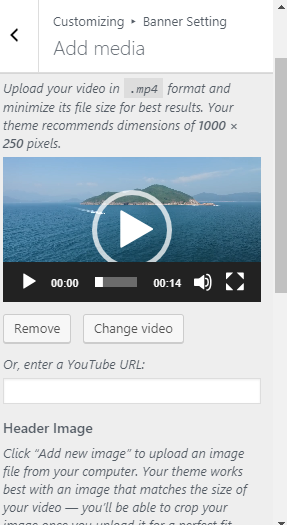
Banner image / Banner video
- Go to Appearance > Customize > Banner Setting >Add media
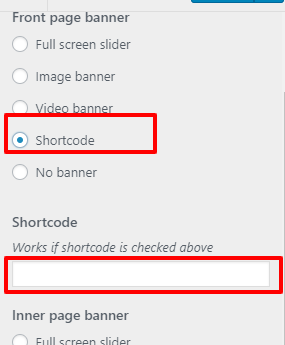
Banner shortcode
- Go to Appearance > Customize > Banner Type
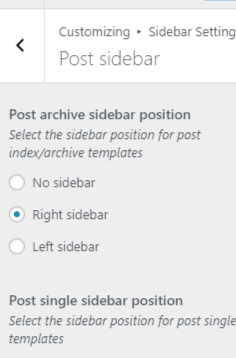
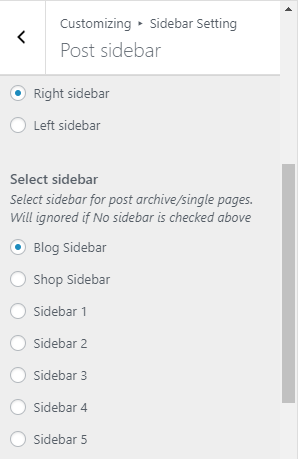
Sidebar Setting
- Go to Appearance > Customize > Sidebar setting

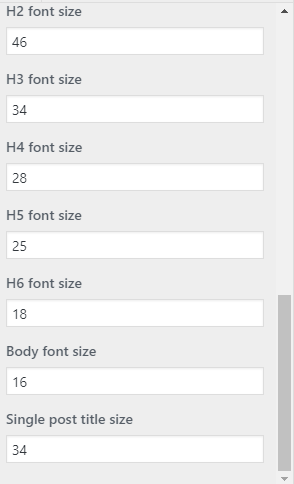
Font Setting
- Go to Appearance > Customize > Font setting


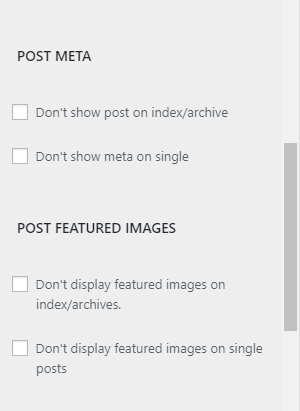
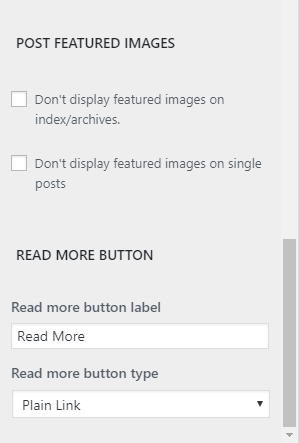
Blog Setting
- Go to Appearance > Customize > Blog setting

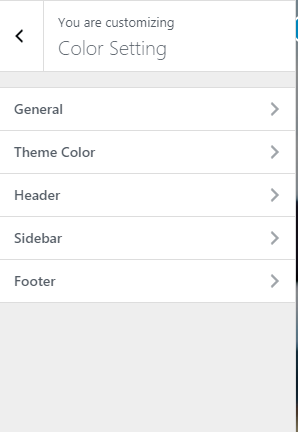
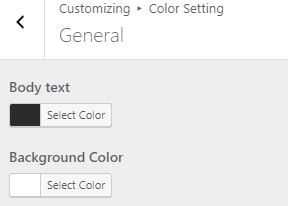
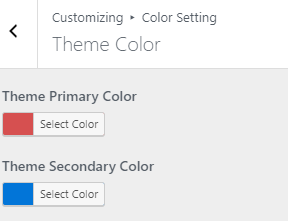
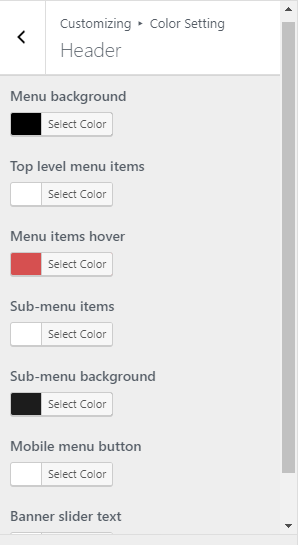
Color Setting
- Go to Appearance > Customize > Color setting
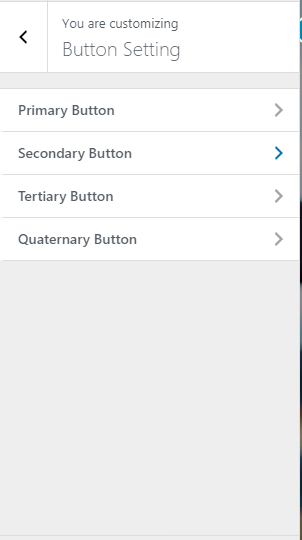
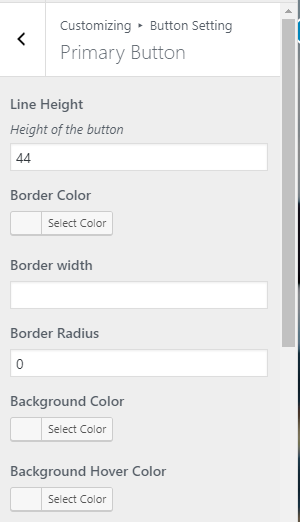
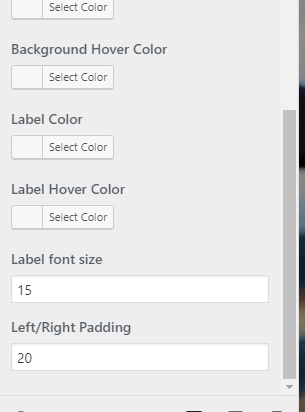
Button Setting
You can design 4 different type of buttons and use any of them according to your requirement
- Go to Appearance > Customize > Button setting
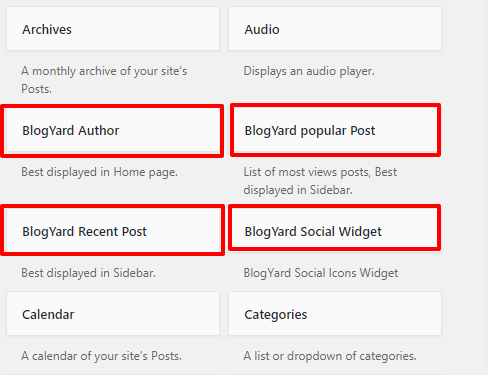
Widgets
There are various pre-built you can just drag and drop to siteorigin page builder